Wondershare has just released the new Filmora 11 video editor after the success of Filmora X. The new version promises to help us create videos efficiently so that we can focus more on telling the stories. Filmora has been well-known as a simple video editor built for novice users and influencers who want to spend more time for there creative works. The Filmora 11 adds some new features and allows us to create professional-looking videos without a steep learning curve. Let’s check out all the best features in this detailed review.
Basic Features
Color Match
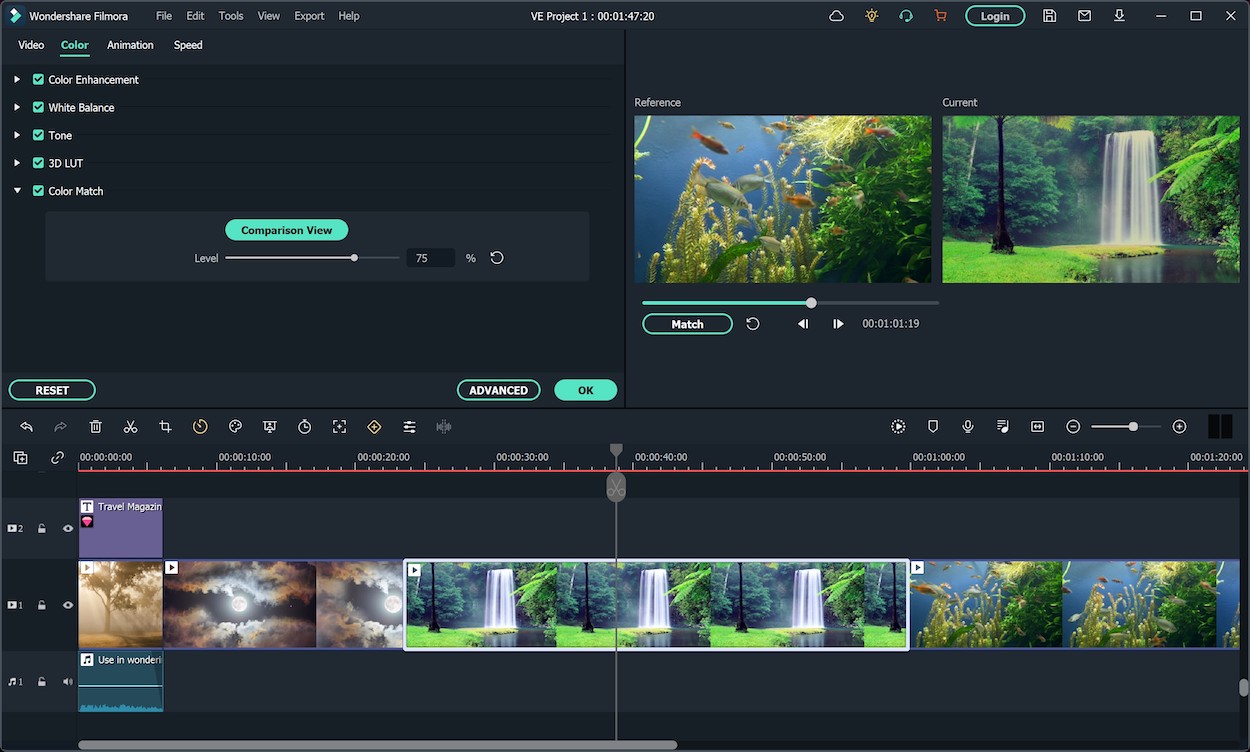
Most projects include multiple videos and they probably have different color tones. To make the whole video unified, you can use the Color Match feature. Simply choose color settings from a clip and apply it to other clips in the video. Filmora will add filters and you can choose the level of color match from 0-100%.
Green Screen
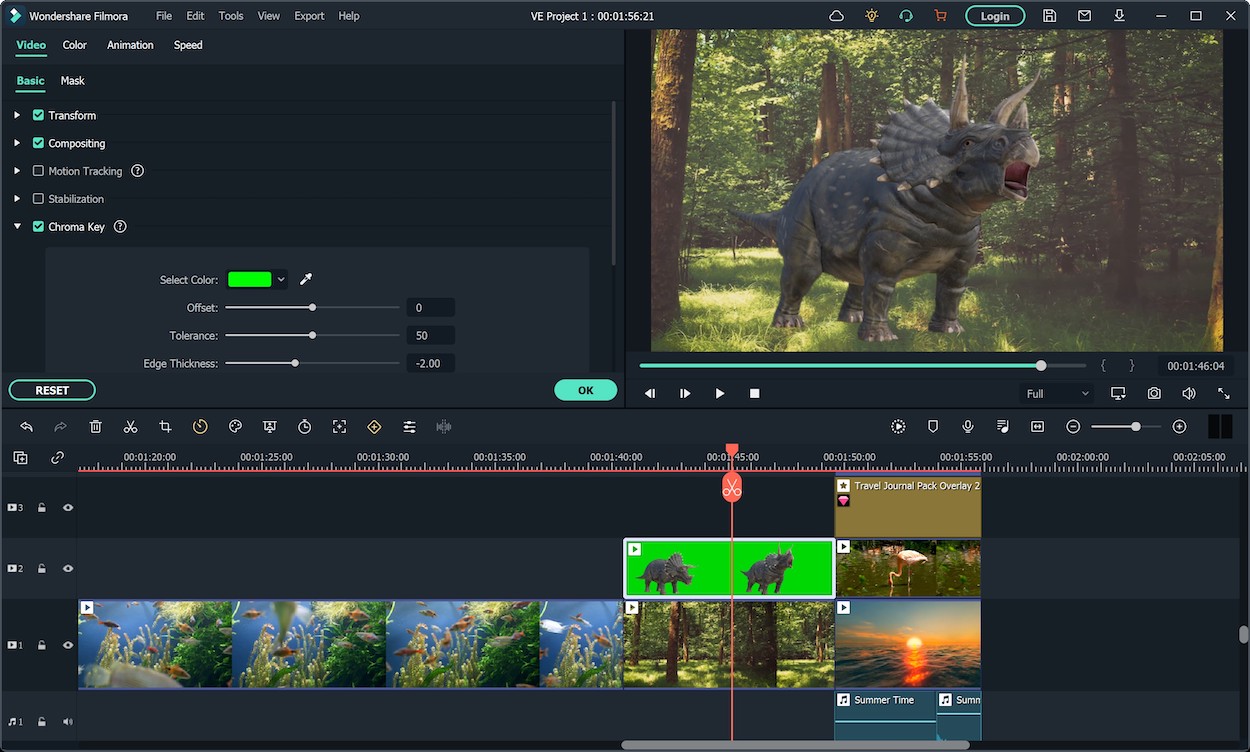
This feature allows you to change background and create special effects in just a few clicks.
Split Screen
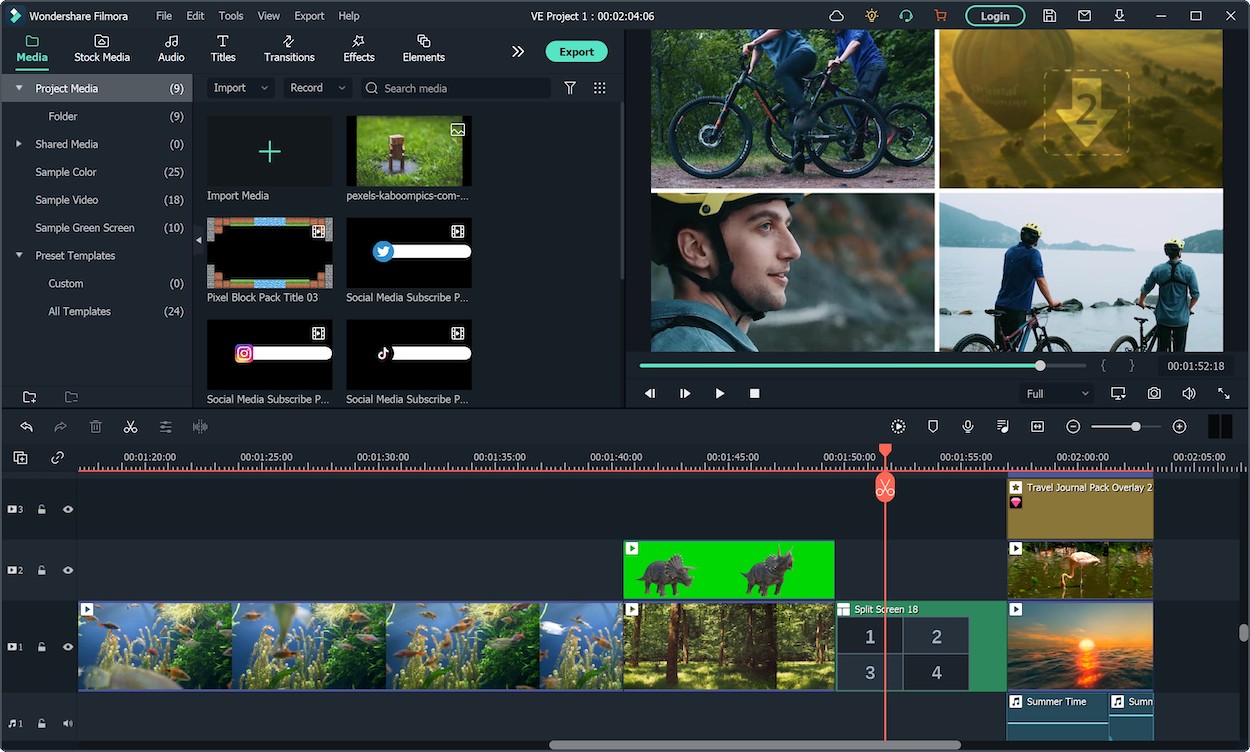
Your video might look boring if it uses the same frame. You can use the Split Screen feature to make video and photo collages with animation. It allows you to divide the screen to 2-6 screens.
Motion Tracking
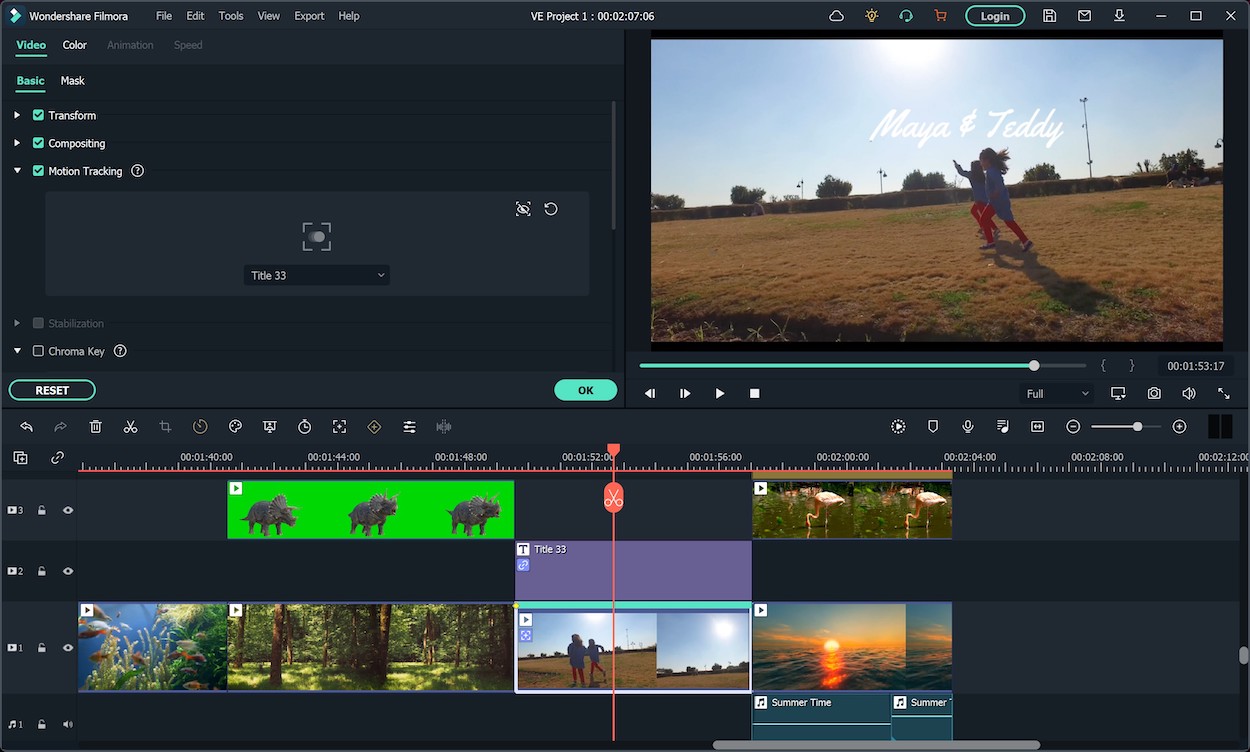
This is among my favorite features because it can intelligently track an object in my video, then I can add graphics or media files to follow it.
Audio Ducking
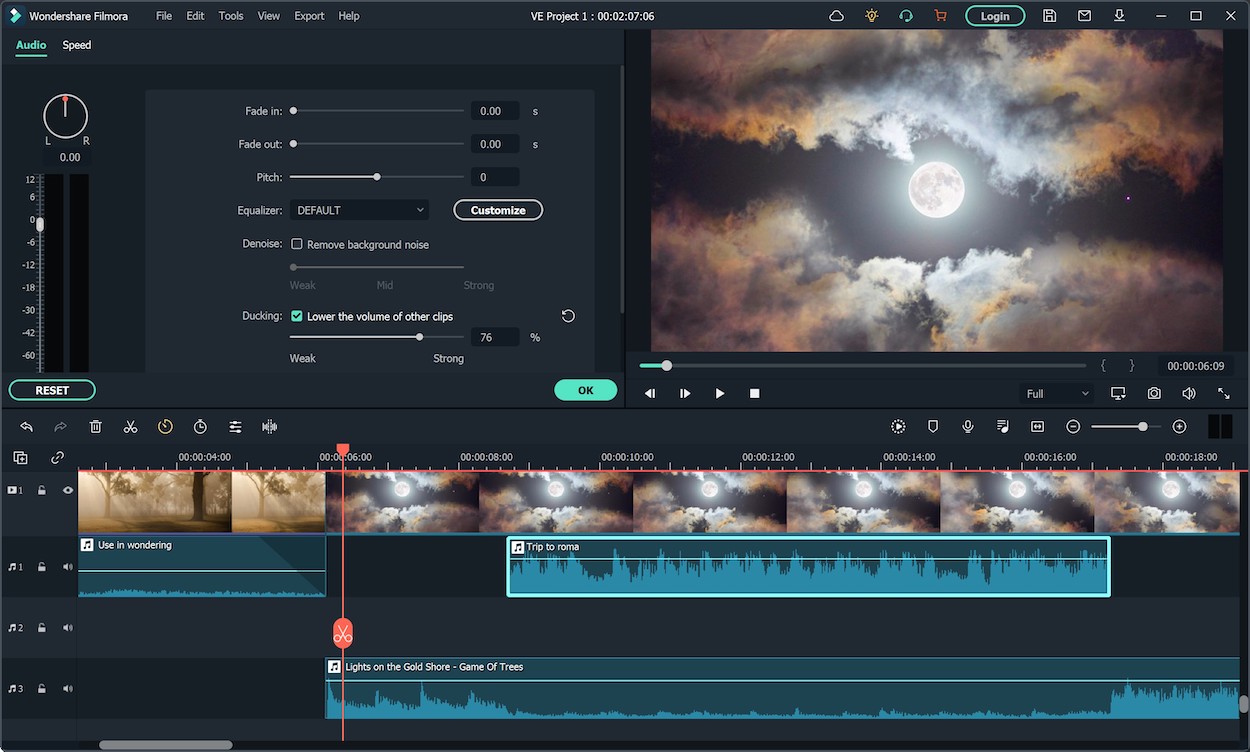
This is a quick way to lower the volume of background music when you are speaking. You will just need to indicate the clip with your voice, enable Audio Ducking, and the music will automatically fade out/in when you talk.
New Features
There are little changes when it comes to interface of the new Filmora 11 as compared to Filmora X. However, there are actually some significant changes under the hood. Here are some notable features of the new version.
Speed Ramping
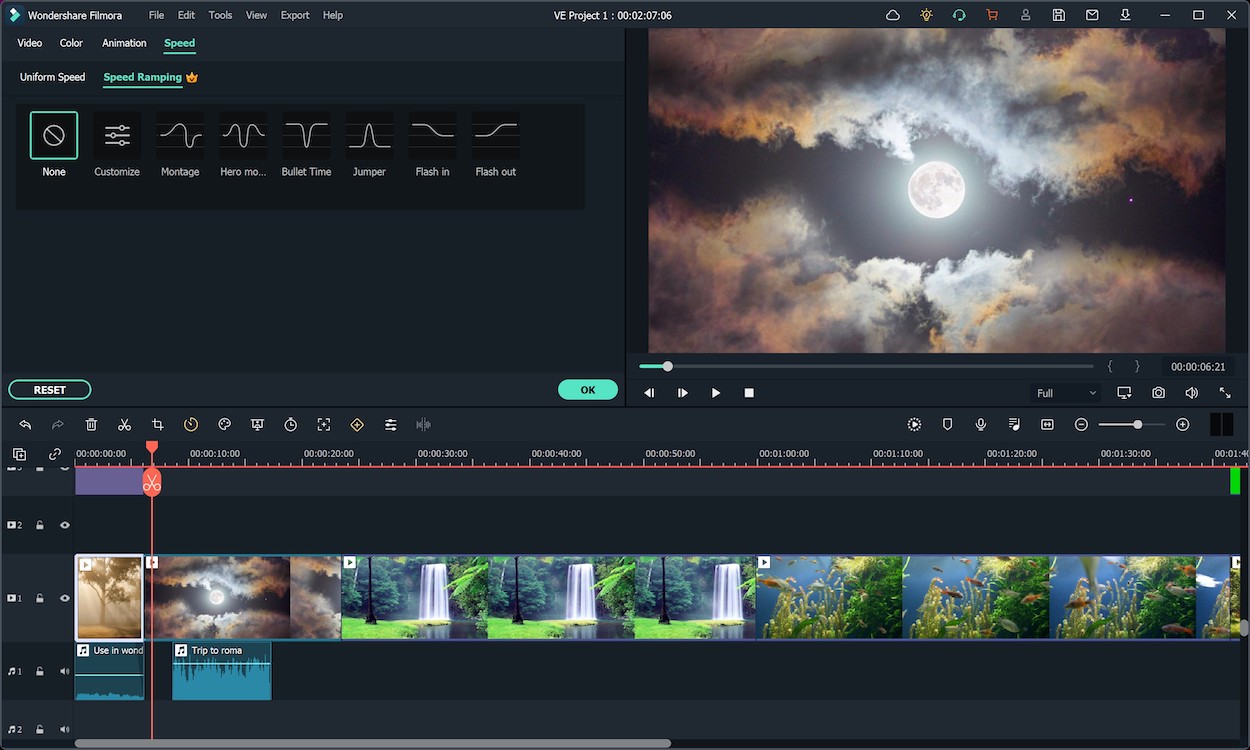
The speed ramping is an exclusive feature of the Filmora 11 video editor. It gives users more control of keyframing a video and adjust the speed and transitions of different sections of the video. This allows you to create timing effects like slo-mo or speed-up. You can choose among different presets or customize your own.
Masking
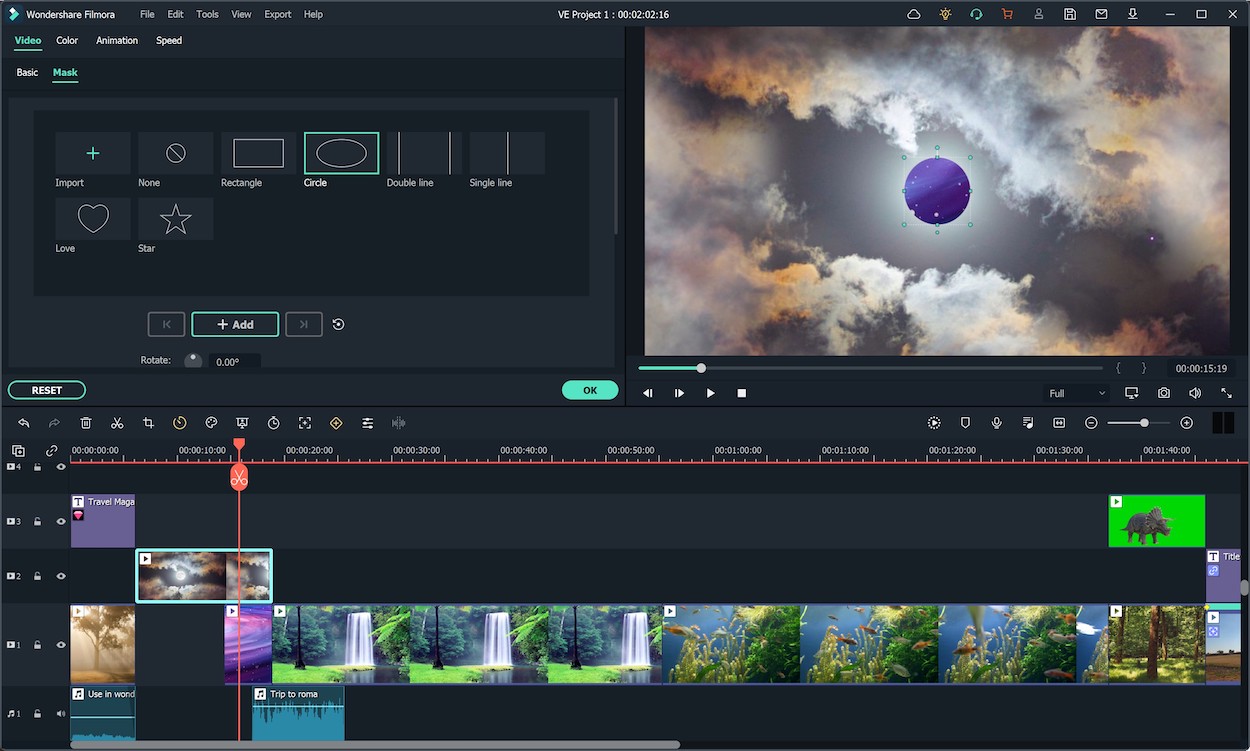
The feature pushes the boundaries of your imagination as you can combine different clips by creating a mask. The final result might be really impressive with effects you often see in professional ads.
Auto Beat Sync
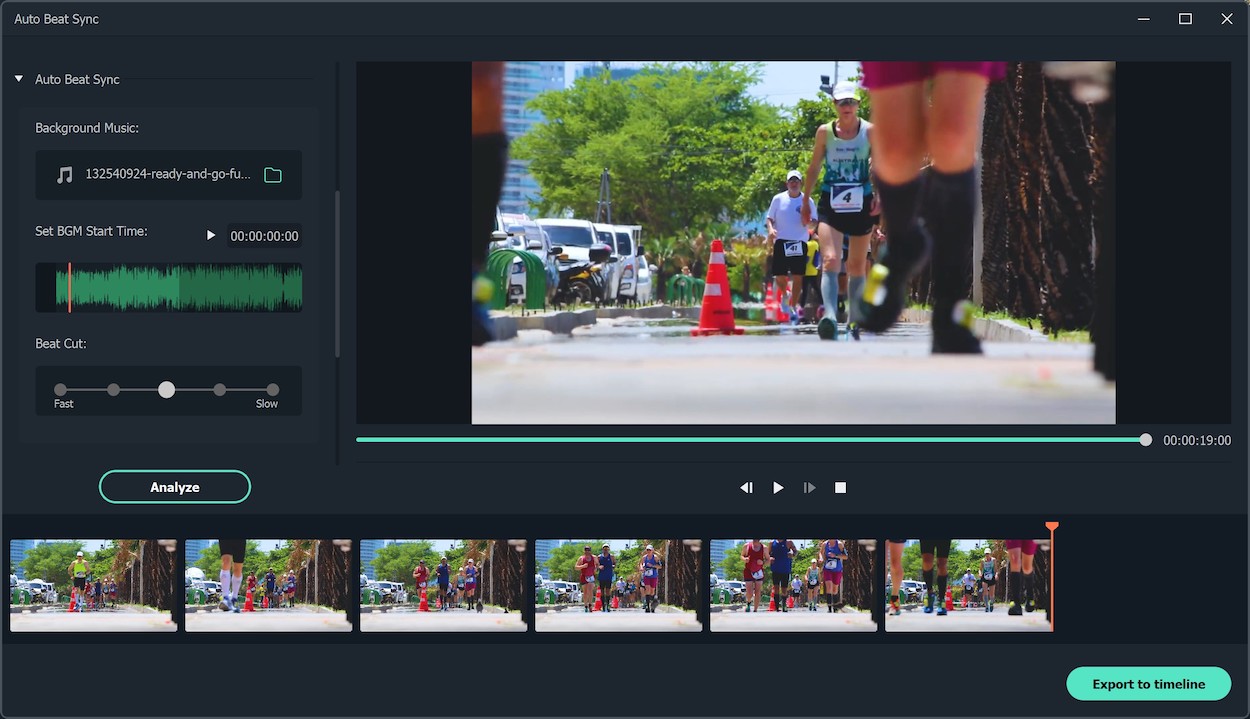
The auto beat sync feature helps you properly match the audio according to the visuals of your videos. The program will analyze your music, recognize beat points, add effects or switch view, and generate a highlight video automatically without any editing skill. Notice that this feature is available for the Windows version only.
Auto Synchronization
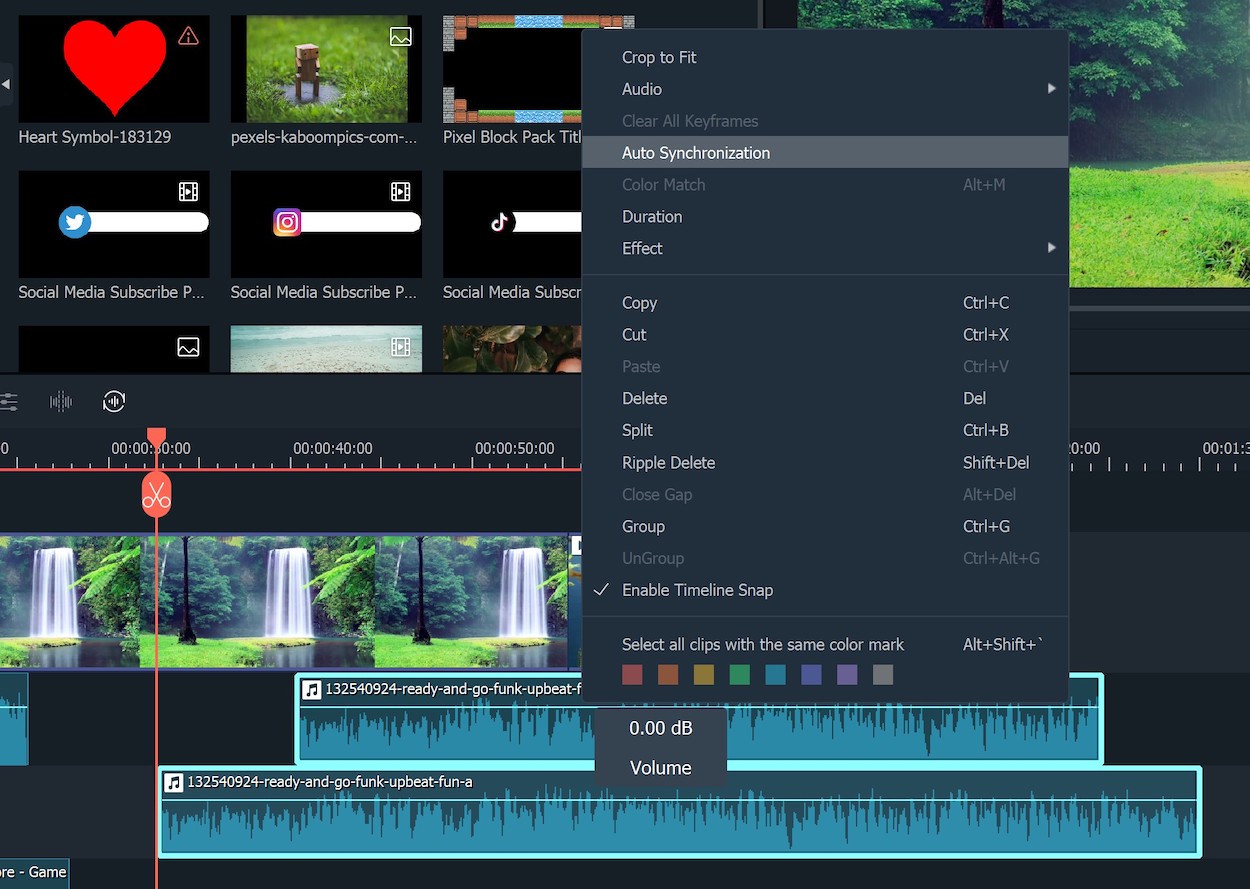
You probably record audio with both your camera and an external microphone. The Auto Synchronization feature automatically sync the audio of the 2 sources and make your video sound much clearer. You won’t have to find and drag the audio file manually in the timeline.
Instant Mode
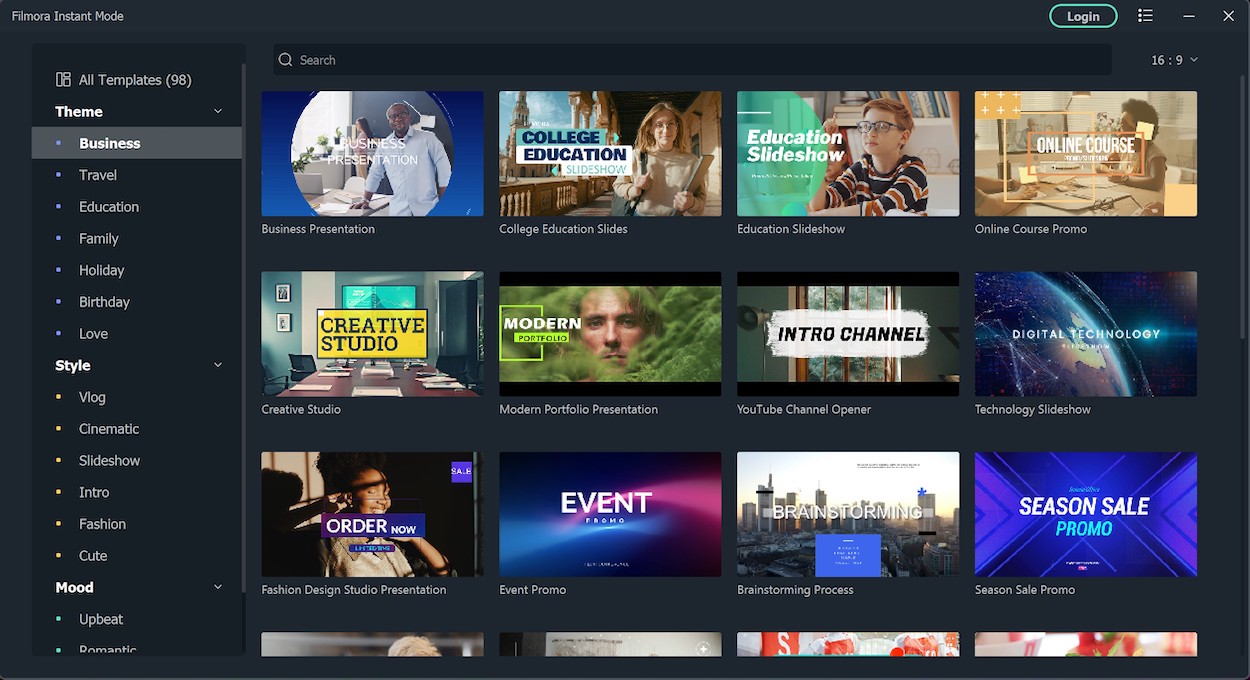
If you have no idea to get started with your footages, Filmora 11 offers a lot of templates so that you can create an amazing video without any further editing. The templates are divided into different categories like business, cinematic, or education.
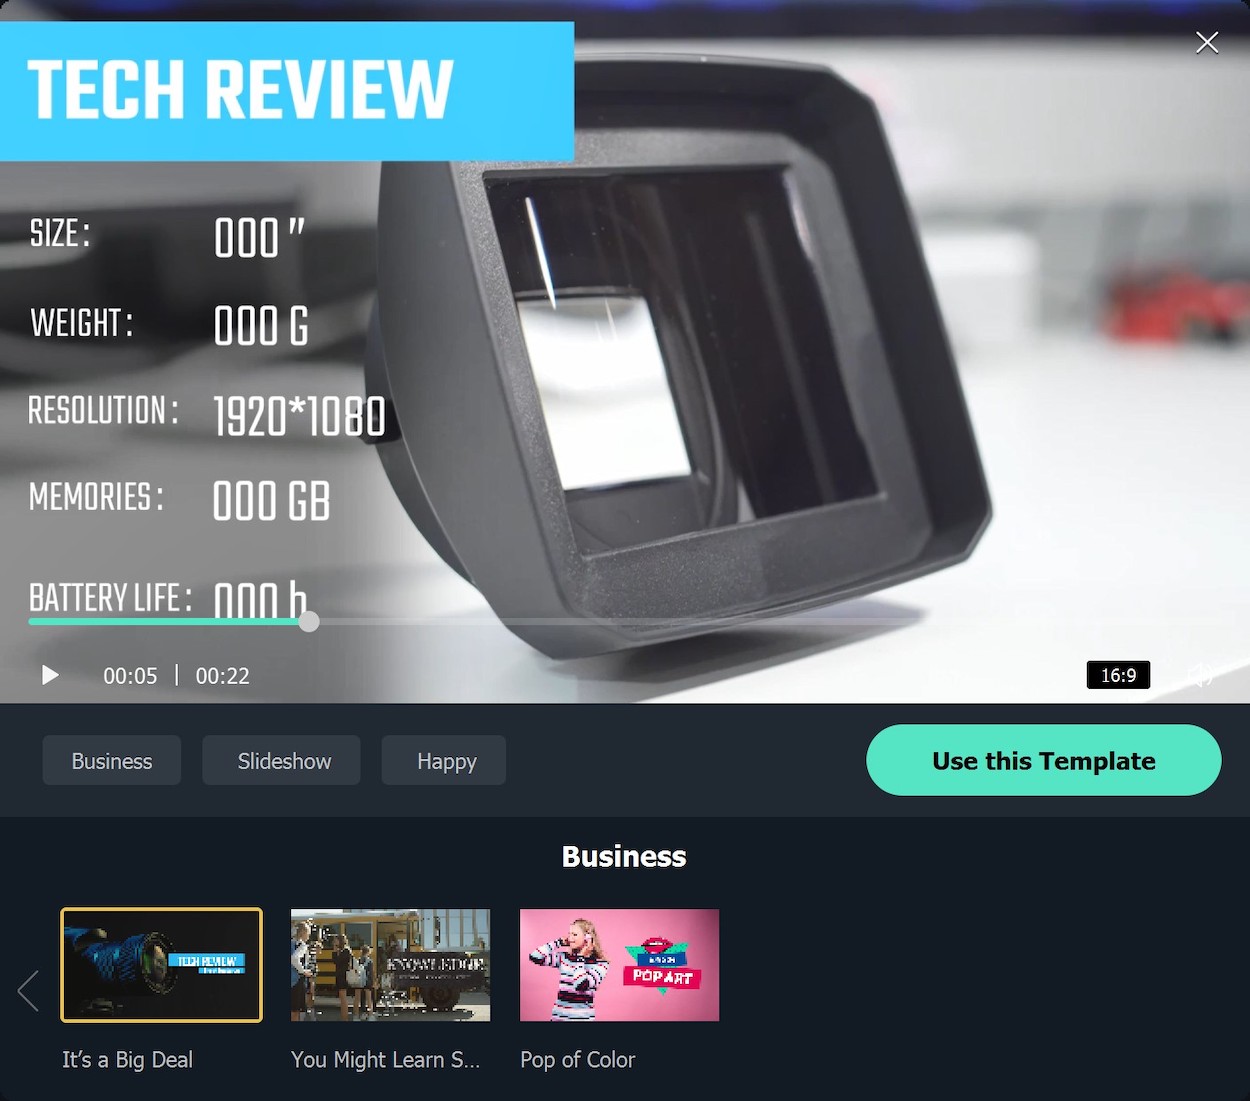
For instance, I often make tech video reviews on my Youtube channel; All I have to do is selecting the template, importing all footages, clicking on Auto Create button. After a few seconds, Filmora will generate a video and you will just need to edit some titles to get the final video. The interface is made simple and easy to use for everyone; If you don’t want to spend hours editing your videos, this mode might be a great option.
3rd-Party Stock Media
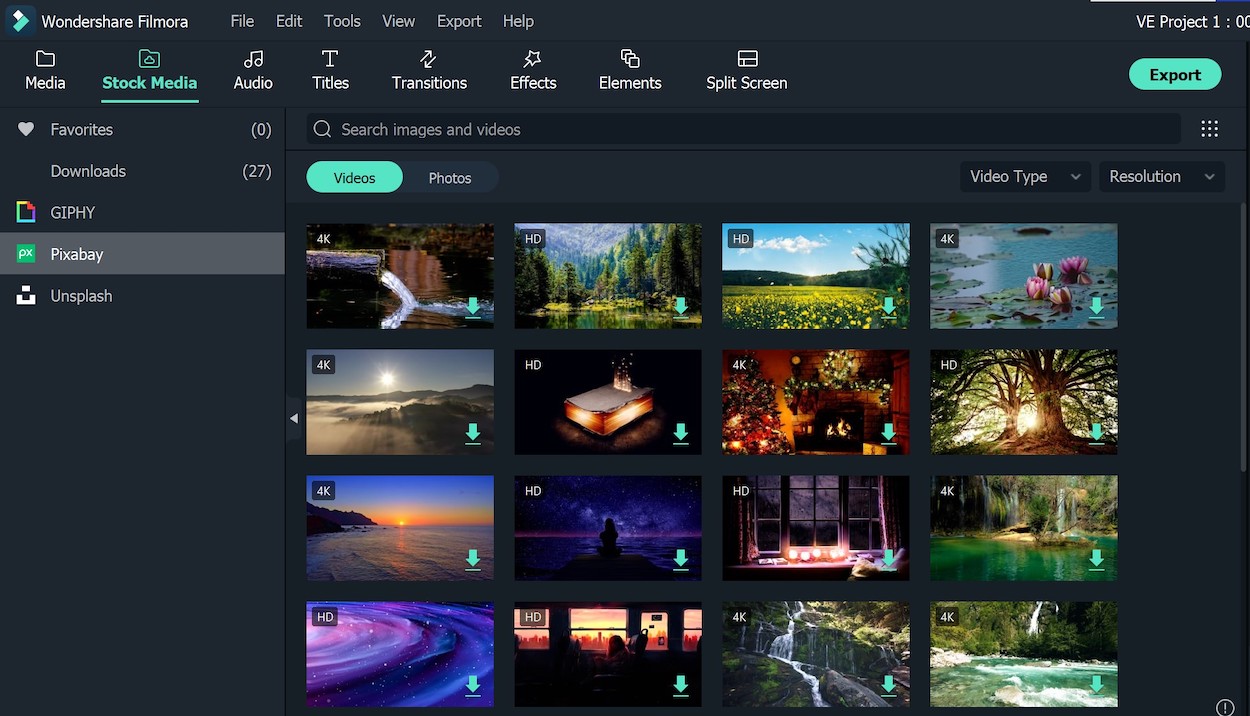
Sometimes we will need to add some stock photos or videos to our projects and it could take a lot of time looking for them online. Now, Filmora allows you to do this without leaving the program; You can find the new tab Stock Media on top of the program. They have numerous GIFs, stickers from GIPHY, or videos and photos from Pixabay and Unsplash; The search bar will help you find suitable videos quickly. Besides, you can also use professional movie effects from OpenFX and NewBlue FX. Of course, you won’t have to pay any additional fees for all these features.
Wondershare Drive
Last but not least, the Wondershare Drive feature allows users to save all project files and your videos to the cloud. This is helpful when you don’t have much disk space in your computer. Besides, you can also share your projects with others easily.
System Requirements
Windows
- Operating System: Windows 11 or below
- Processor: Intel i5 or better, 2GHz+
- GPU: Intel HD Graphics 5000 or later; NVDIA GeForce GTX 700 or later; AMD Radeon R5 or later
- RAM: 4GB RAM (8GB required for HD and 4K videos)
- Hard Disk: 10GB of free space.
Mac
- Operating System: Minimum of macOS 10.14.
- Processor: Intel i5 or better multicore processor, 2GHz or above
- GPU: Intel HD Graphics 5000 or later; NVIDIA GeForce GTX 700 or later; AMD Radeon R5 or later. 2 GB vRAM (4 GB required for HD and 4K videos).
- RAM: 8GB RAM (16GB required for HD and 4K videos).
- Hard Disk: 10GB free hard disk space.
Pricing
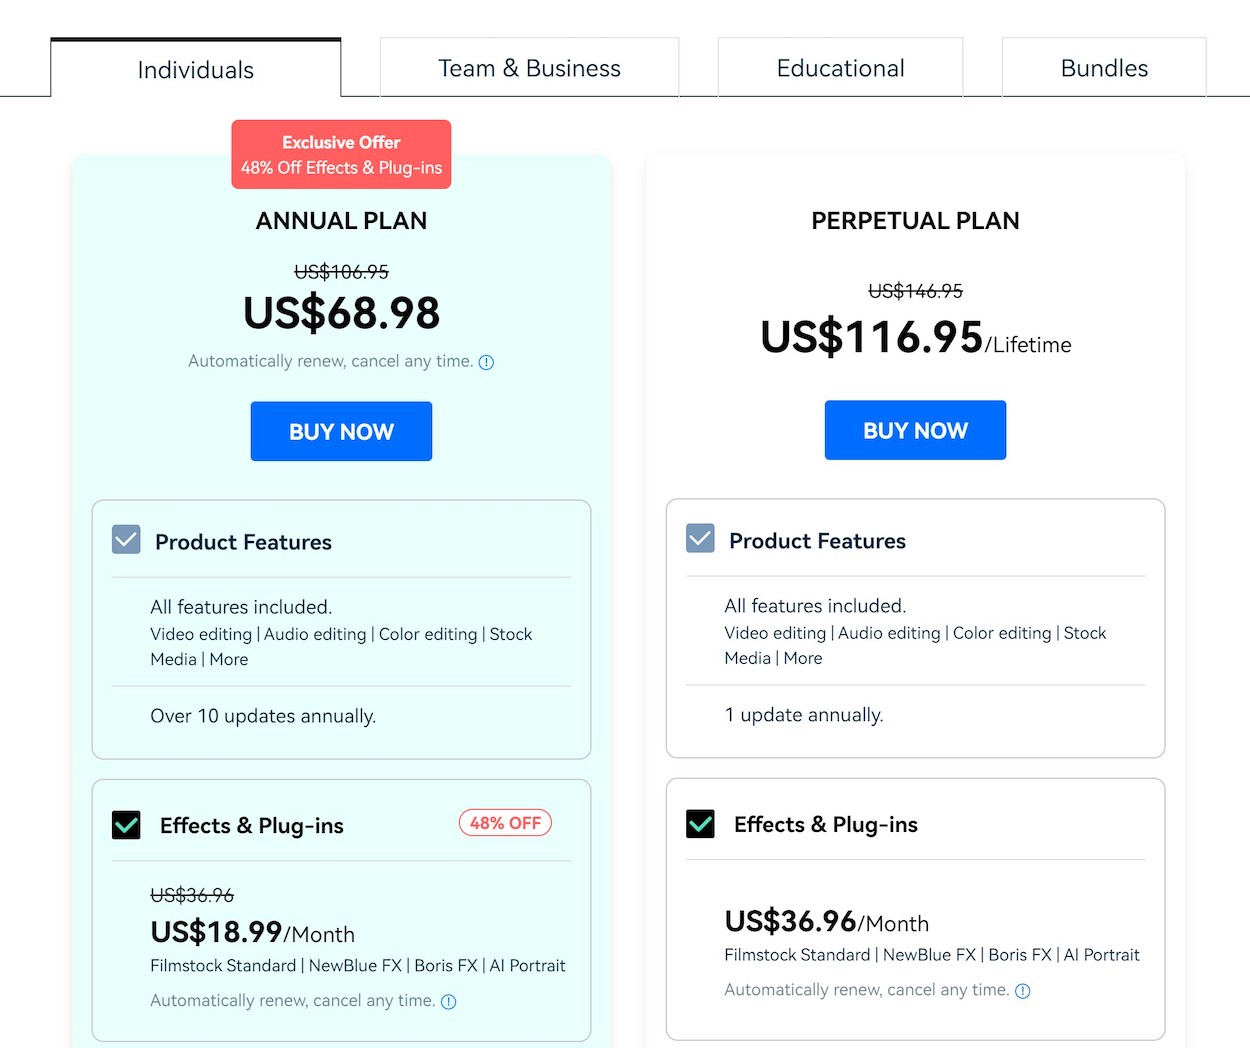
The Filmora 11 adds some useful features for content creators and they could help us make amazingly-looking videos easily. You can visit the Filmora website to learn more and download the free version. If you’re interested to buy it after using the free trial, the pricing plans are also quite reasonable at $68.98/year or $116.95 for a lifetime license.
Disclosure: We were paid to test the software and publish the review on our website.
Disclosure: We might earn commission from qualifying purchases. The commission help keep the rest of my content free, so thank you!



Randy Johnson says
I just did the update to Filmora 11, everything seems to work better until I got to the export, set it up to export to my desktop as normal, and it just says ‘preparing’ with zero progress. Been that way for an hour. I could use some help, seeings how Wondershare doesn’t have customer service.