Explainer videos as the name say these videos will explain the information in detail which you are looking for. It can be teamed up with good animations, and graphics to impart the knowledge in a more impactful way. These videos are generally shorter, comes in handy when you are in a hurry and want to soak up the maximum information. Explainer videos generally come in a short animated form, presenting viewers with a snapshot of the content to help in the decision-making process. Users can use explainer videos to introduce their product, explain their strategy or vision, explain and discuss an ongoing current topic, and many more.
How to make an explainer video?
The thought of making an explainer video can be tangled, especially when you do not belong to a graphic or videography background. You might abort the mission, even though you know an explainer video is the best way you could put forward your ideas. If you want to have a great video editor in hand, we recommended Wondershare DemoCreator, which could be your saviour. Using this easy video editing tool, anyone, with no prior background can create a masterpiece of an explainer video.
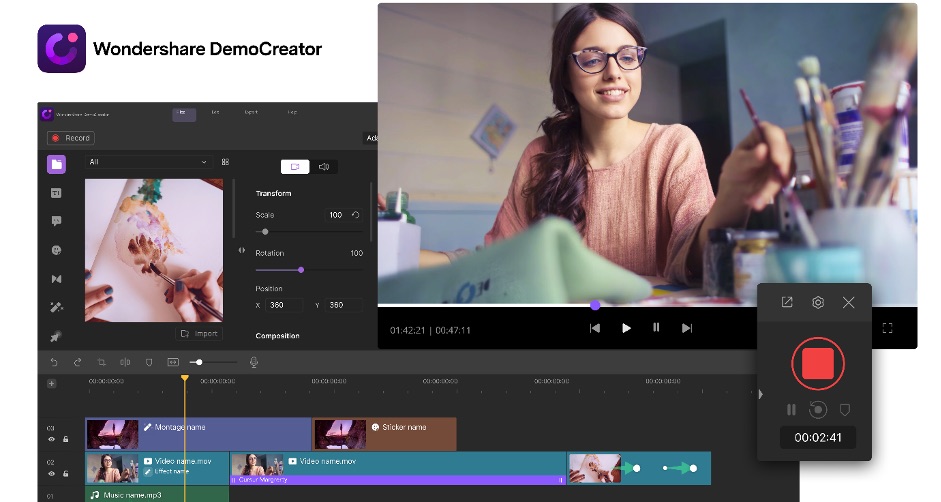
Steps to create an explainer video using Wondershare DemoCreator:
Step 1 – Choose a video style
You must spend some time deciding your video style. Whether, you want to create the video to be a live talking head or just a simple whiteboard animation. Once you have decided your video style, prepare a script or a storyboard to prepare yourself, and for a smooth experience while recording.
Step 2 – Record your screen and voiceover
Once you have your style and script ready, let’s launch the Wondershare DemoCreator video recording software. Download the software for free. After downloading install and launch Wondershare DemoCreator. Once you see the main interface, click New Recording button.
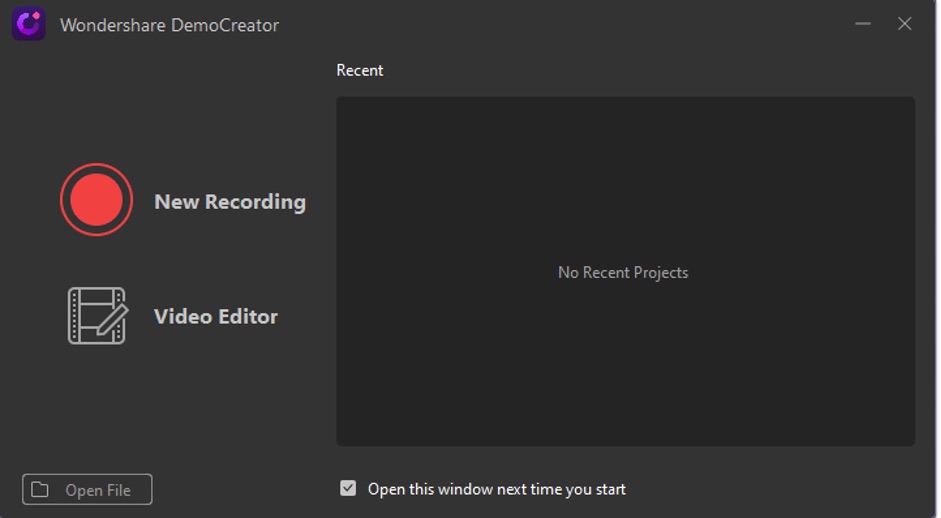
Click on red colour recording button now to start recording the screen of your computer. Start Capturing, or press F10 on your keyboard to start recording. The screen recorder for PC will give you a three seconds heads up before starting the recording. By default, the screen recorder for PC will record the entire screen. Therefore, you can adjust and drag the border to choose your target specific area. You can press F10 again to stop recording. And now, you can do some real-time drawing during recording, adding spotlight effect during recording.
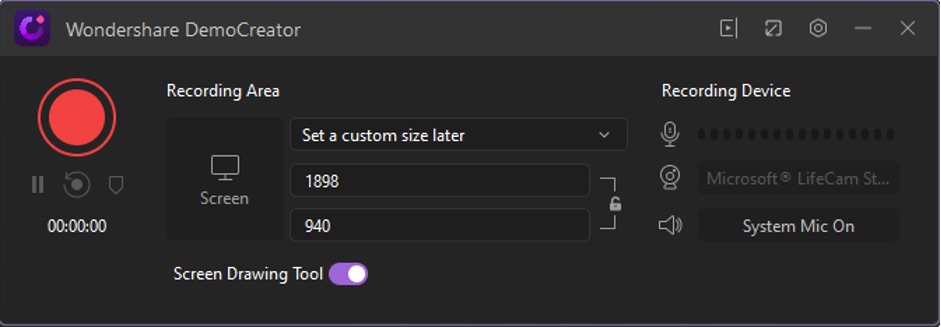
Once your video is recorded you need to click on the red colour stop button. Wondershare DemoCreator will save the video and automatically open the recorded video in the video editor of the Wondershare DemoCreator.
Step 3 – Edit your recorded video and audio narration
Once you are ready with all the material required, you can start working on your explainer video to create a masterpiece. You can choose Wondershare DemoCreator to help you with your creation. This software has tons of features, and easy to follow.
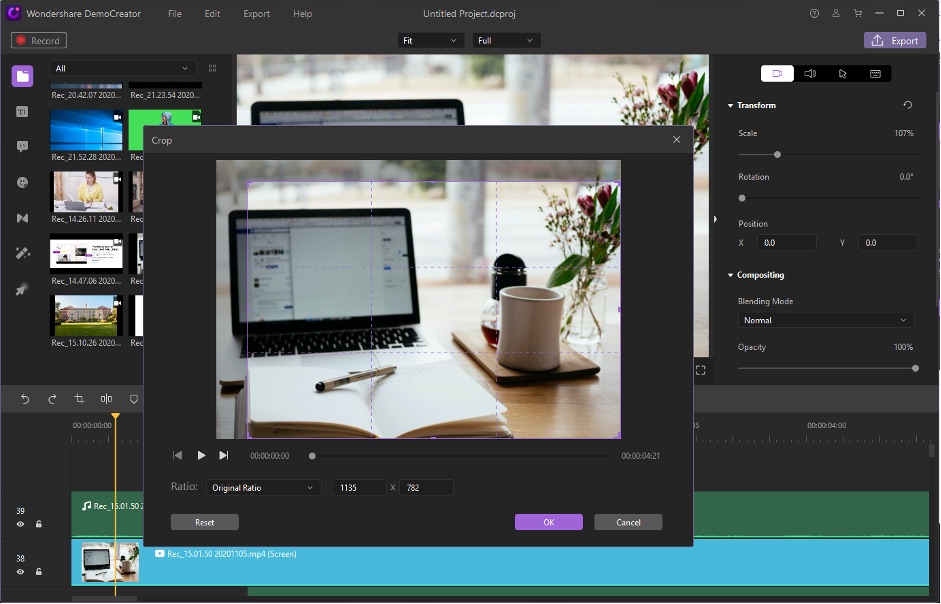
To edit, at first, go through your videos, and trim and remove any snippet you think you want to discard. When you are ready with your final result, go ahead and use the wonderful features Wondershare DemoCreator has.
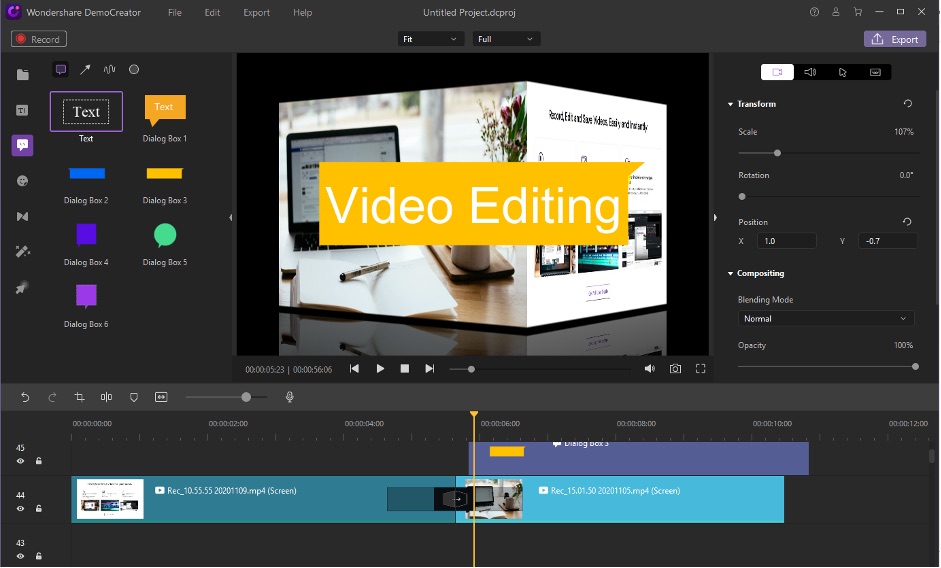
You can add annotations to make your video more expressive. To add the annotation to your video, you can click the annotation tab and select the category you want to insert. You can choose among Dialogue Box, Arrows, Banners various shapes for Callout Boxes.
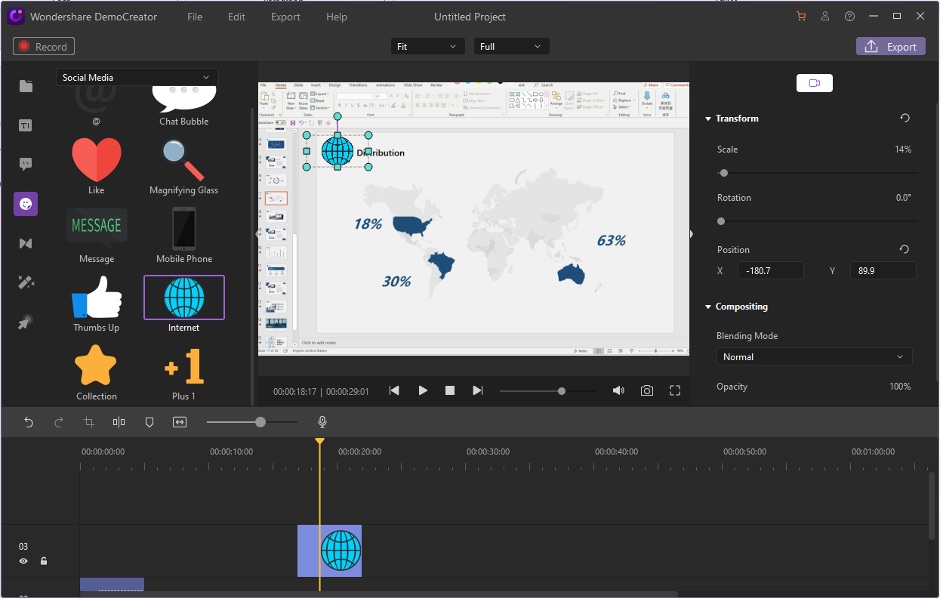
There are many stickers to choose from. Stickers will add more color and fun to your explainer video and help keep the viewers engaged.
Transitions effects found in the toolbar on the left, can also be added in if you have different scenes. You can use the transition effect by dragging it to the timeline on your media files. With the help of your mouse, you can hover it and insert it where you want the transition to take place. The option of deleting the transition is also available.
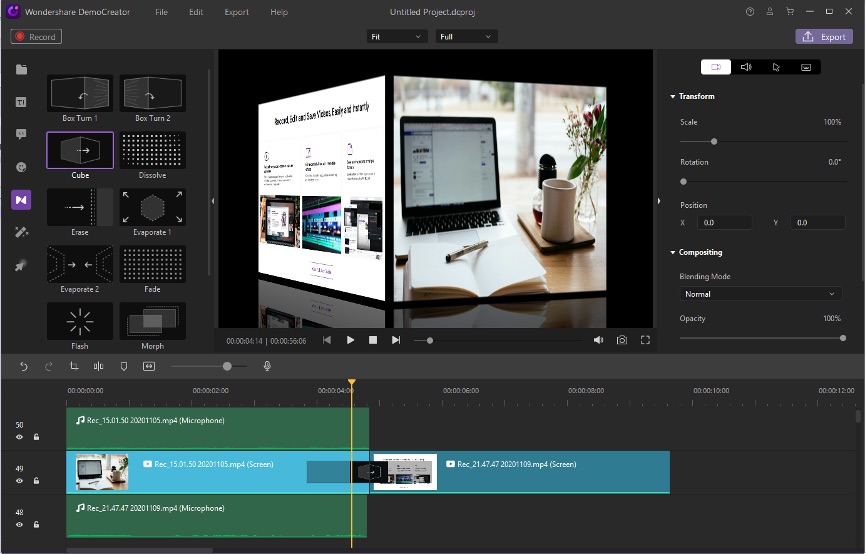
Cursor effects can help you stand out your content. You can find the cursor effect in the bottom left corner of the toolbar. Cursor highlight, Left Click Rings, and Left Click Sound are the three cursor effects to choose from. Simply select the one you want and drag it on your clip.
Step 4 – Add music
You can mute, detach, or add music to your video clip. Music can help fill the silences in your video, keeping the viewers engaged and not bored. You can also “denoise” your background sounds by engaging the denoise tab. This will block any unwanted sounds from your video and help the viewer concentrate better. To add music on Wondershare DemoCreator, import your video to the media files and add a song or music you wish to. And now, you can also add audio fade-in and fade-out effect for your video using DemoCreator.

Step5 – Export your videos
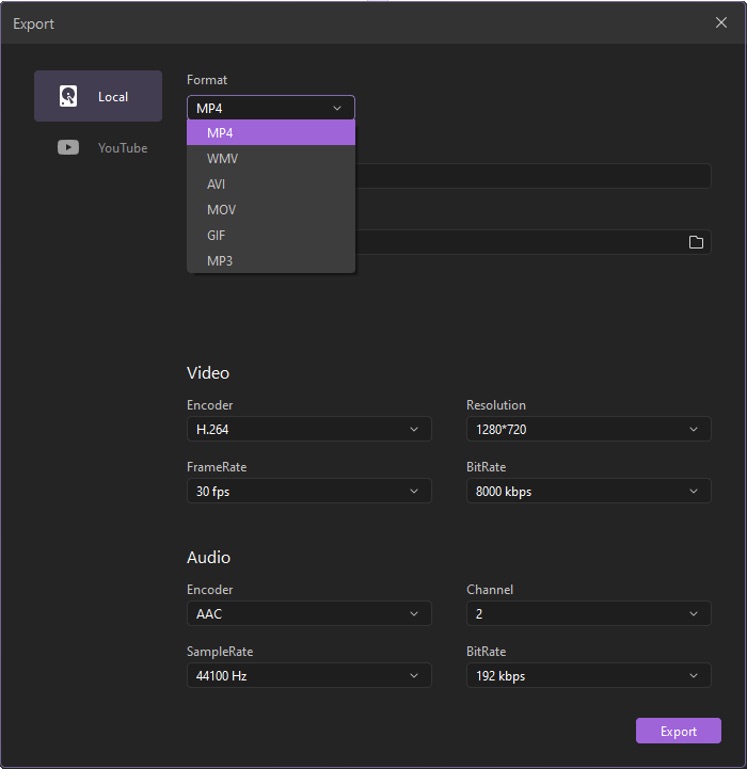
You can now produce and share your video once it’s all set and ready. Click on Export and you can export your explainer video in various formats such as MP4, MOV, MP3, WMV, AVI, GIF file formats. Wondershare DemoCreator also gives you an option to name your file and save it in your desired location to access in the future. In the export window, you can also do last-minute changes such as video resolution, frame rate, etc.
Overall
Wondershare DemoCreator is Multi-Tasking software. Given above was a gist on how to create an explainer video easily. With its built-in user-friendly interface, carefully marked instructions, and all in one edit, record, audio features the user will end up being satisfied with their masterpiece. To know more about how to download the software and get more details you can always visit their official website.
Disclosure: We might earn commission from qualifying purchases. The commission help keep the rest of my content free, so thank you!
