I started building niche sites 4 years ago after I realized that it was too difficult to make living online with my authority site. Unfortunately, I kept losing money with the first 3 niche sites as my experiment with auto-generated content failed seriously. Then, I abandoned those sites, created a new niche site and hired a writer. Yet, I found little success with the site and finally sold it for just $800.
Last year, I accidentally found a great niche with fairly high CPC and low competition when testing the Long Tail Pro keyword research tool. So I decided to make the last endeavor with a new niche site. The website was more successful than I expected and I’ve just sold it for $29,900 on Flippa.
In this article, I will show you every step from website creation to sale completion. You will figure out what I did differently to earn higher traffic and income for the website.
Step 1: Building the Niche Site
Find your Niche
This is the first and foremost step as it will directly affect your website’s success. An ideal niche is the one with high interest and low competition. However, it will be so difficult to have both of those factors, so you will have to find the right balance. I myself decided to avoid broad niches and found micro niches instead.
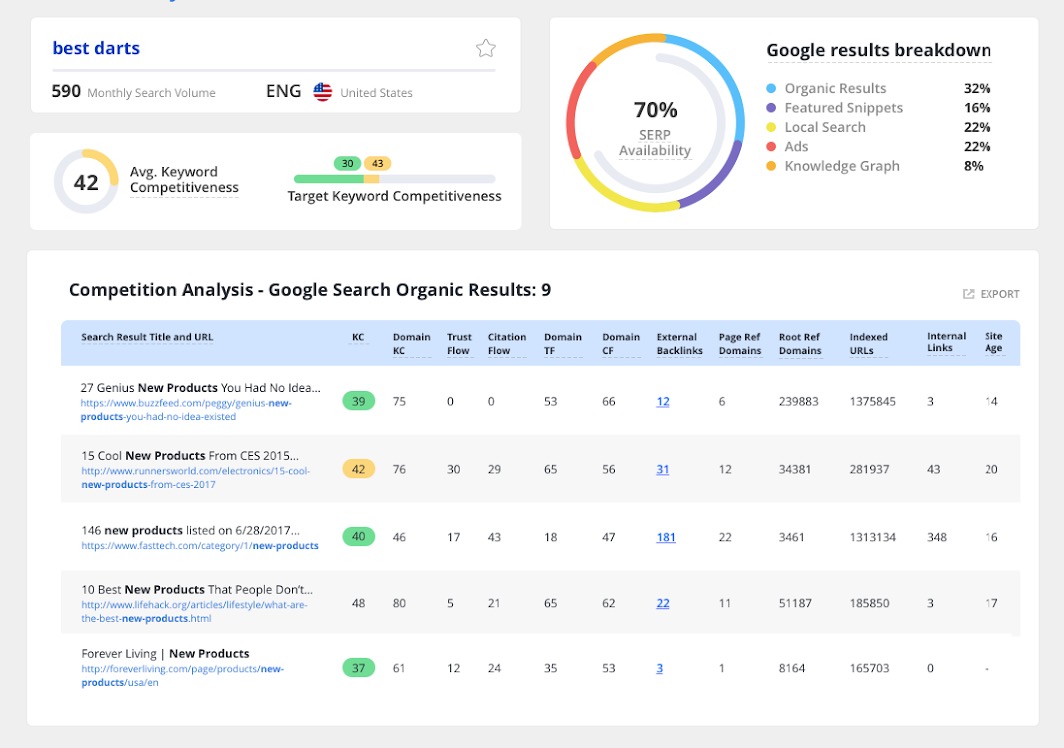
When you use keyword research tools like Adwords Keyword Planner or Long Tail Pro, make sure to show only closely related ideas and filter out keywords with less than 10k monthly searches. I love the Long Tail Pro software because it calculates Keyword Competitiveness (KC score) in a single click. The score will quickly tell you how strong your competitions are and if you have a chance to get high rankings on Google search result pages. However, if you can analyze the data, you just need to buy the Long Tail Pro version and save some money.
Set up your Website
As this is not a technical post, I won’t tell you how to set up a website. Actually the process is very easy now because most hosting providers have tools to set up a WordPress website in just a few clicks.
Unlike my previous websites, I care about every detail of the new niche site. I bought the domain on GoDaddy (and moved it to Google Domains later), hosted it on Digital Ocean, purchased premium themes from ElegantThemes, optimized loading speed with CloudFlare and hired a designer to create a logo, favicon and banner.
Learn from Experts
We always can learn from others’ mistakes, especially when they come from experts. Therefore, you should follow famous bloggers, analysts and Google representatives to keep updated with new link building strategies, changes in SEO or any tip to help your website reach a wider range of audience.
For example, John Mueller from Google said that the most important SEO advice is to be consistent, which can be applied in web design, content publishing schedule or link building. Another great advice comes from Patt Flynn when he recommended we should review only products or services we have tested by ourselves.
Step 2: Develop content
Provide Value
Focus on quality instead of quantity. I’d rather publish 3 in-depth and well-researched articles than 30 low-quality articles that nobody will read. When I analyzed the traffic of my site on Google Analytics, I realized that
Actually I also hired a writer for the site and he published one or two posts per week. Obviously those posts had very low traffic and they were just to fill in the publishing agenda. Thus, you should be very careful outsourcing the task because it is not easy to find writers who could deliver well-researched articles.
So exactly how can we provide value in our blog posts? I’d recommend you to write articles that are informative, educational, entertaining, solve a problem or show your opinion/perspective.
Be Honest
When someone searches for a product on Google, he/she might want to read a review and take a look at the product before buying. If you plan to over-praise products to generate more clicks on the “Buy It Now” button, you are doing it all wrong. Your readers can easily differentiate an honest review with a junk post. I’d recommend you to try the products yourself, mention all of their pros and cons, and also upload some images or Youtube videos to prove you are really a professional reviewer.
Use Images and Videos Effectively
As I always want to produce the best content to my readers, I take high-resolution pictures for my written reviews and record 4K footages for video reviews on Youtube. A picture is worth a thousand words and a video is worth thousands of pictures literally. Therefore, using images and videos are a great way to complement your written content. I often put at least 5 images and embed a couple of Youtube videos in my articles. They do not only provide more information, build trust with the audience but also keep them on my site longer.
The gears I’m using include a Sony FDR-AX100 4K camcorder and a Sony A7R camera. If you are on a low budget, you absolutely can use your smartphone to take pictures and videos. Most recent smartphones like iPhone 11 or Samsung Galaxy S10 are capable of recording 4K videos and shooting high-res photos.
Step 3: Start Monetizing
Many bloggers recommend start monetizing your website only when it has some decent traffic. However, I always start early and make my website ready for prime time, you will never know when visitors will flock to your site. A few months ago, a celebrity wrote a tweet with a link to my website and I earned more than $100 from Adsense ads in just 1 day. This was unexpected because that website is not so well-known. Therefore, start putting ads or affiliate links as soon as possible.
The possibilities for creating passive income streams are endless, but affiliate marketing is still the most effective monetization method for niche sites. In fact, Amazon Associates was the only affiliate network I used to monetize my niche site because the conversion rate on Amazon is significantly higher and you will earn commissions for all products a visitor purchases during the day. I am addicted to shopping on Amazon and I never just bought one product in a session. That explains why you can have high earnings even when you review cheap products on your website.
Step 4: Building Traffic
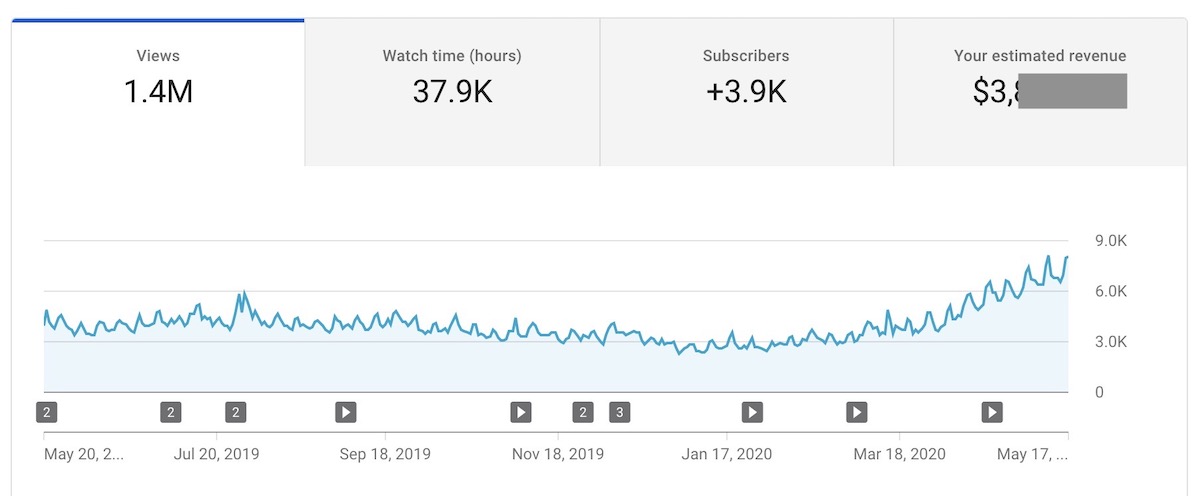
Organic traffic was still the dominant traffic source on my niche site (83% in the last year). Once your brand is established and your readers appreciate your content, you will see your domain authority increase and how easy it is to get high ranking on Google. Reviews and guides on my niche site always appear on the top spots of Google Search result pages, surprisingly without any link building effort. When people searched for relevant products, my posts were even ranked higher than popular websites like Amazon, retailers or even manufacturer’s website.
Although I don’t have any strategy to build link for my website, I still see a flow of natural links to my blog posts. Although there are just a couple of inbound links per month, they come from high-authority websites, so they contributed significantly to a higher page authority. Besides, people also link to my reviews in the product description of Craigslist or eBay listings. Those are the reasons why my posts were often indexed very fast on Google. The average ranking position was 8.6 as you can see on the image above, that means my posts always showed up on the first page of Google Search.
To promote my site further, I also buy targeted traffic from Google Adwords, Bing Ads and Facebook. I spent less than $100 per month and this is an effective method to introduce my site to more people.
Step 5: Selling on Flippa
Know Your Numbers
You must know your website’s status and sell your website at the right time. Nobody wants to buy a website that is on a downtrend, so you’ll need to predict when your traffic and earnings will reach a peak, then sell it before the downtrend happens.
It is suggested that the selling price should be from 12 to 24 times the average monthly earnings. I set my BIN price at 24 times but finally it was sold for nearly 19 times. The amount is enough for me to start a new business and don’t have to worry about maintaining this site in the next year. Of course, you should be confident your new business will be more successful during that period, or it’s not worth selling the site with consistent passive income.
Be Explicit
When I listed my site on Flippa, everything was clearly stated in the description and I didn’t hide any advantages and disadvantages of the site. All of my traffic and earnings stats were verified by Flippa, so all potential buyers can be confident bidding while I save a lot of time replying to comments and private messages.
After reviewing my website, Flippa even upgraded my normal listing to Ultra Premium Listing auction which cost more than $300. Therefore, my website listing is highlighted in search results, included in Flippa newsletter, featured on the homepage and the title is bold for more exposure. There were about 200 watchers 6,418 views on the listing.
That’s it. My website was sold at BIN (Buy It Now) price after a couple of weeks. The payment and website transfer were completed fast and securely via Escrow.
That’s how I built and sold my niche site. At the moment, I am working on a new niche site project and I will keep you updated very soon. Leave a comment below if you have any question or issue with your niche websites.
Disclosure: We might earn commission from qualifying purchases. The commission help keep the rest of my content free, so thank you!
